Getting Started with iOS SDK
This guide will demonstrate how to integrate widget-based screens from Huma SDK into an existing iOS application. We'll use the CustomerAppSample, a sample weather app, as an example. The integration involves adding your SDK using CocoaPods, configuring the SDK within the AppDelegate, and adding a .plist file.
Prerequisites
- Xcode installed on your machine
- CocoaPods installed on your machine
- Basic understanding of Swift and iOS development
- A pre-existing iOS application (CustomerAppSample in this case)
Step 1: Set Up CocoaPods
Open Terminal and navigate to your project directory:
cd /path/to/CustomerAppSampleInitialize CocoaPods in your project (if not already initialized):
pod initOpen the generated Podfile, define the spec sources and add Huma dependencies in your Podfile:
source 'https://github.com/CocoaPods/Specs.git'
source 'git@github.com:huma-engineering/huma-ios-specs.git'
platform :ios, '16.0'

target 'CustomerAppSample' do
  use_frameworks!

  # Pods for CustomerAppSample
  pod 'HumaAppKit'
  pod 'HumaHeaderWidget'
  pod 'HumaVitalWidget'
  pod 'HumaRealmPlugin' # in a short future, we will remove the need to add this pod

  # in a short future, we will remove the need to add post_install
  # currently, it's needed due to a 3rd-party dependency (FlagPhoneNumber)
  post_install do |installer|
     installer.pods_project.build_configurations.each do |config|
         installer.pods_project.targets.each do |target|
             target.build_configurations.each do |config|
                 config.build_settings['IPHONEOS_DEPLOYMENT_TARGET'] = '15.0' # or your minimum deployment target
             end
         end
     end
  end
end
Install the pod:
pod installOpen the generated .xcworkspace file in Xcode:
open CustomerAppSample.xcworkspace
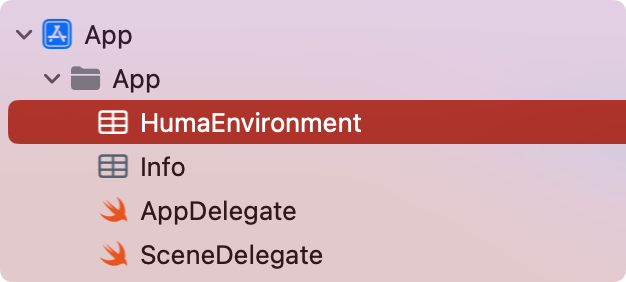
Step 2: Add the HumaEnvironment.plist File
Download the HumaEnvironment.plist file from the Builder portal and add it to your project's app folder.
Step 3: Initialize the SDK
Open AppDelegate.swift in your project.
Import your SDK at the top of the file:
import UIKit
import HumaFoundation
import HumaAppKit
Execute the SDK initialization method in the application(_:didFinishLaunchingWithOptions:) method:
func application(_ application: UIApplication, didFinishLaunchingWithOptions launchOptions: [UIApplication.LaunchOptionsKey: Any]?) -> Bool {
    HumaApp.initialize()
    return true
}
Add the log out handler:
coordinator.onLogOut = { HumaApp.endUserSession() }
Step 4: Integrate SDK Widget-Based Screens
- Push
- Present
- Tab Bar
import HumaAppKit
- Declare a token property in your view controller class to store the returned reference.
var token: Any?
- Add the method to push SDK screen:
token = HumaApp.pushWidgetScreen(withID: "ScreenID", into: navigationController!)
import HumaAppKit
- Declare a token property in your view controller class to store the returned reference.
var token: Any?
- Add the method to present SDK screen:
token = HumaApp.presentWidgetScreen(withID: "ScreenID", from: self)
- You can also configure the presentation style:
token = HumaApp.presentWidgetScreen(withID: "ScreenID", from: self, config: .init(modalPresentationStyle: .fullScreen, showsCloseButton: true))
- Open your main view controller that contains the Tab Bar Controller setup.
- Import your SDK:
import HumaAppKit
- Add the method to insert SDK screens:
class MainTabBarController: UITabBarController {
    var token: Any?

    override func viewDidLoad() {
        super.viewDidLoad()
        insertSDKScreens()
    }

    func insertSDKScreens() {
        token = HumaApp.insertWidgetTabs(into: self)
    }
}
Step 5: Update Info.plist if needed
- Make sure that NSCameraUsageDescription and NSMotionUsageDescription keys are present in the Info.plist
Step 6: Build and Run the App
- Select your target device or simulator in Xcode.
- Click the “Run” button or press Cmd + R.
Your CustomerAppSample should now include new widget-based screens from Huma SDK.
Conclusion
You have successfully integrated widget-based screens from Huma SDK into an existing tab-based iOS application. For further customization and usage of the SDK, refer to the SDK’s official documentation.